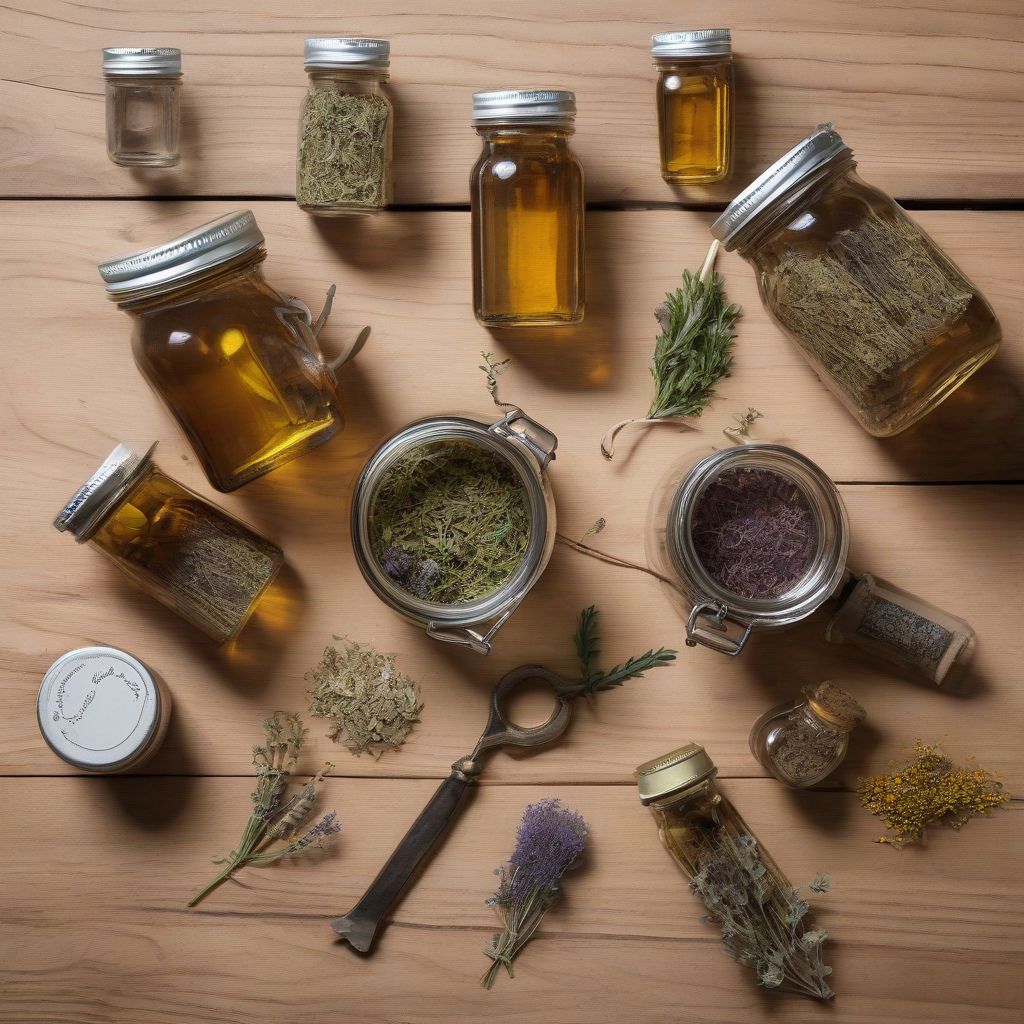
Have you ever dreamt of harnessing the power of plants to support your well-being? Imagine having a natural remedy cabinet right in your kitchen, filled with potent herbal extracts made with your own two hands. It might sound like something out of a fairytale, but the truth is, creating your own herbal tinctures at home is easier than you think!
As a nutritionist and meal prep coach, I’ve always been passionate about helping people take control of their health through natural means. Herbal tinctures offer a potent and convenient way to incorporate the benefits of medicinal plants into your daily routine. In this comprehensive guide, we’ll walk you through the simple steps of crafting your own herbal tinctures, empowering you to embrace the healing power of nature.
Understanding Herbal Tinctures
Before we dive into the how-to, let’s clarify what herbal tinctures are and why they are so special. In essence, a tincture is a concentrated liquid extract of herbs made by soaking them in a solvent, typically alcohol or vinegar, over a period of time. This process draws out the plant’s beneficial compounds, like alkaloids, flavonoids, and tannins, creating a potent elixir that’s easy to absorb and use.
Why Choose Tinctures?
Tinctures offer a range of benefits over other herbal preparations:
- Long Shelf Life: Alcohol acts as a natural preservative, allowing tinctures to last for years when stored properly.
- Concentrated Potency: Due to the extraction process, tinctures offer a concentrated dose of herbal goodness in a small volume.
- Fast Absorption: When taken sublingually (under the tongue), tinctures bypass the digestive system, allowing for quicker absorption into the bloodstream.
- Versatile Application: Tinctures can be added to water, juice, or even taken directly.
Gathering Your Supplies
Making herbal tinctures at home is surprisingly simple. Here’s what you’ll need:
- Dried Herbs: Choose high-quality, organic herbs from a reputable source.
- Alcohol: Use high-proof alcohol like vodka (40-50% alcohol content) or grain alcohol (everclear) for optimal extraction. For a non-alcoholic option, consider organic apple cider vinegar.
- Glass Jars: Choose amber or blue glass jars to protect the tincture from light degradation.
- Cheesecloth or Muslin Cloth: For straining the herbs from the liquid.
- Labels and Markers: Always label your tinctures with the herb name and date.
 Herbal Tincture Ingredients
[amazon bestseller=”mason jars for tinctures”]
Step-by-Step Tincture Making Process
Now that you have your supplies ready, let’s get started:
1. Preparing the Herbs
- Chop or grind your dried herbs to increase their surface area for better extraction.
- Fill your chosen jar about ⅔ full with the herbs. You can use a single herb or create a blend based on your desired health benefits.
2. Adding the Solvent
- Pour your chosen solvent (alcohol or vinegar) over the herbs, ensuring they are completely submerged. Leave about an inch of headspace at the top of the jar.
- Seal the jar tightly with a lid.
3. The Waiting Game: Maceration
- Store your jar in a cool, dark place for at least 4-6 weeks, shaking it vigorously once a day to encourage extraction.
- Observe the color of the liquid. It should darken over time as the beneficial compounds are released from the herbs.
4. Straining and Bottling
- After the maceration period, line a funnel with cheesecloth or muslin cloth and place it over a clean jar.
- Pour the tincture mixture through the lined funnel, squeezing out any remaining liquid from the herbs.
- Transfer the strained tincture into amber or blue dropper bottles for easy use and storage.
Dosage and Usage
The appropriate dosage of your homemade tincture will vary depending on the herb used, its potency, and your individual needs. As a general guideline:
- Start with a low dose: Begin with a few drops (1-5) and gradually increase as needed.
- Listen to your body: Pay attention to how you feel and adjust the dosage accordingly.
- Consult a qualified herbalist or healthcare professional: For personalized guidance, especially if you have any underlying health conditions or are taking medication.
Popular Herbs for Tinctures
Ready to embark on your tincture-making journey? Here are some popular herbs and their traditional uses:
- Chamomile: Known for its calming and sleep-promoting properties.
- Echinacea: Traditionally used to support immune function.
- Calendula: Valued for its skin-soothing and wound-healing properties.
- Valerian Root: Often used to ease anxiety and promote relaxation.
- Lemon Balm: Believed to have mood-boosting and cognitive-enhancing effects.
Conclusion
Making your own herbal tinctures is a rewarding way to connect with the healing power of nature. By following these simple steps, you can create potent and personalized remedies in the comfort of your own home. Remember to always source high-quality herbs, label your creations clearly, and consult with a qualified healthcare professional for personalized guidance.
Embrace the ancient art of herbalism and unlock a world of natural wellness! Share your tincture-making experiences, favorite herbs, and any questions you might have in the comments below.
